In 2026, pre-winter roof inspections are especially important due to increased climate risks, such as frequent thaws and ice buildup, which can lead to leaks and damage. Without regular inspections, condensation and snow loads can cause mold or structural deformations, threatening the safety of the home. Many believe the myth that a visual inspection is sufficient, but reality shows that hidden defects, such as poor ventilation or moss, only become apparent with a detailed inspection. In this article, we’ll provide a comprehensive roof inspection checklist, along with recommendations on tools and steps, so you can avoid costly repairs and ensure the longevity of the structure.
Is it possible to prepare a roof for winter yourself: myths and reality
Preparing your roof for winter yourself is possible, but myths about its simplicity are misleading. For example, the belief that the absence of visible leaks guarantees safety ignores condensation in the sub-roof space, which leads to mold and ice. Reality: inspecting a roof in winter requires a systematic approach, including inspection tools such as a roof skylight and a ladder. You can identify 70-80% of problems yourself, but for complete assurance, a professional roof inspection before winter is necessary. This is especially important in regions with strong winds, where ventilation plays a key role in preventing moss and moisture, ensuring a roof service life of up to 25 years.
Key Points for a Roof Inspection
A roof inspection checklist includes several steps focused on identifying vulnerabilities before winter. Each step requires the use of basic inspection supplies, such as gloves and binoculars, for safety. Manufacturers’ recommendations emphasize timely inspection to prevent ice buildup and leaks.
External examination
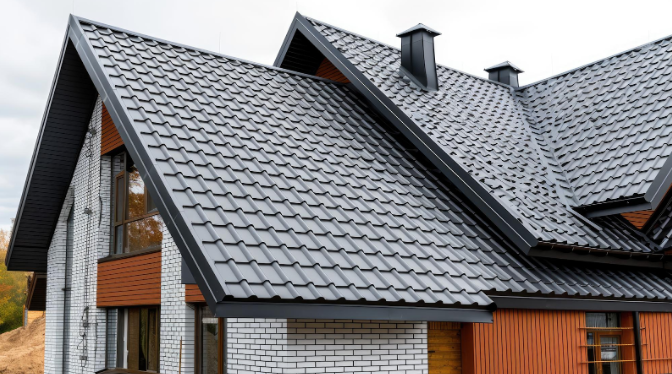
An external inspection is the first step in the roof inspection checklist, where the roof covering is checked for cracks, moss, and deformations. Inspect the tiles or metal for rust, and ensure the integrity of chimneys and vent pipes. If moss is detected, remove it with a brush to prevent moisture accumulation and ice formation. Safety is critical here: use a sturdy ladder and fall protection. This step helps detect leaks early, extending the warranty period of the materials.
Check from the inside
An interior inspection focuses on the attic: look for condensation stains, mold on the rafters, and insulation damage. Check the ventilation—clogged openings lead to moisture accumulation and icing. If there are signs of leaks, measure the humidity with a hygrometer. This step is important for preventing interior damage, especially in colder regions where condensation freezes, widening cracks. We recommend documenting your findings with photos for future repairs.
Pro Tip: Affordable roofing contractor near you in Broadway, VA offering quality roof repairs and replacements. Trusted service, fair pricing, free estimates.
Snow and wind load
Assessing snow and wind loads involves calculating according to SNiP (Building Code and Regulations): check the fastening of elements and ensure there is no sagging. In areas with high snow loads (up to 240 kg/m² in central United State), ensure the rafters are strong and free of moss, which could increase the weight. Wind testing includes securing the ends and ridges. This pre-winter roof inspection prevents collapses and ensures safety. Use a level and tape measure for precise measurements and promptly reinforce weak points.
Inspection technology: mandatory conditions.
Roof inspection technology requires the following conditions: dry weather, daylight, and safety and protection. Tools required: flashlight, binoculars, hygrometer, and ladder.
Steps:
- Prepare inspection materials;
- External inspection from bottom to top;
- Internal inspection for condensation and mold;
- Load assessment;
- Defect documentation.
Timeframe: September-October for temporary repairs. Ventilation is checked for proper flow to prevent icing. For complex roofs, engage specialists with a quality guarantee.
Roof inspection cost in 2026
Roof inspection prices in 2026 range from 8,000 to 15,000 rubles for a standard home, with projected increases of 10-15%. A professional roof inspection in winter carries a 20% surcharge for expedited service. Winter discounts of 10-20% are available in January and February, when the work schedule is shorter. Leak repair costs 2,000-5,000 rubles per square meter, ventilation replacement costs 10,000-20,000 rubles, and mold removal costs 5,000-10,000 rubles. Save by scheduling your inspection early.
Conclusion: When to Conduct an Inspection
How should I have my roof inspected? It’s best to do it in the fall, before winter, to avoid leaks and ice buildup. A roof inspection checklist helps identify problems early, extending the warranty period. For regions with strong winds or snow, it’s recommended to have it inspected annually. A pre-winter roof inspection ensures safety and saves money. For professional assistance, contact spec-krovlya.ru—they’ll find the best plan based on your budget and climate.


Sign up