

How to Make Your Closure Look Like It’s Growing from Your Scalp
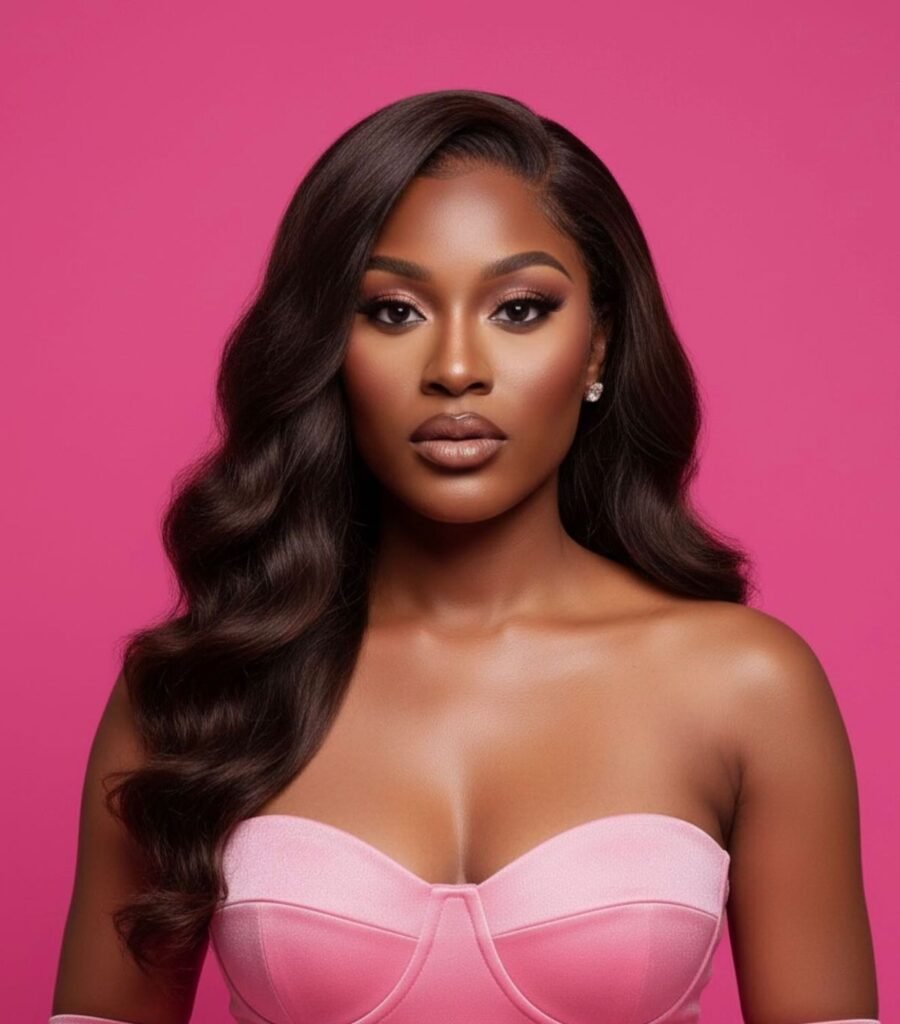
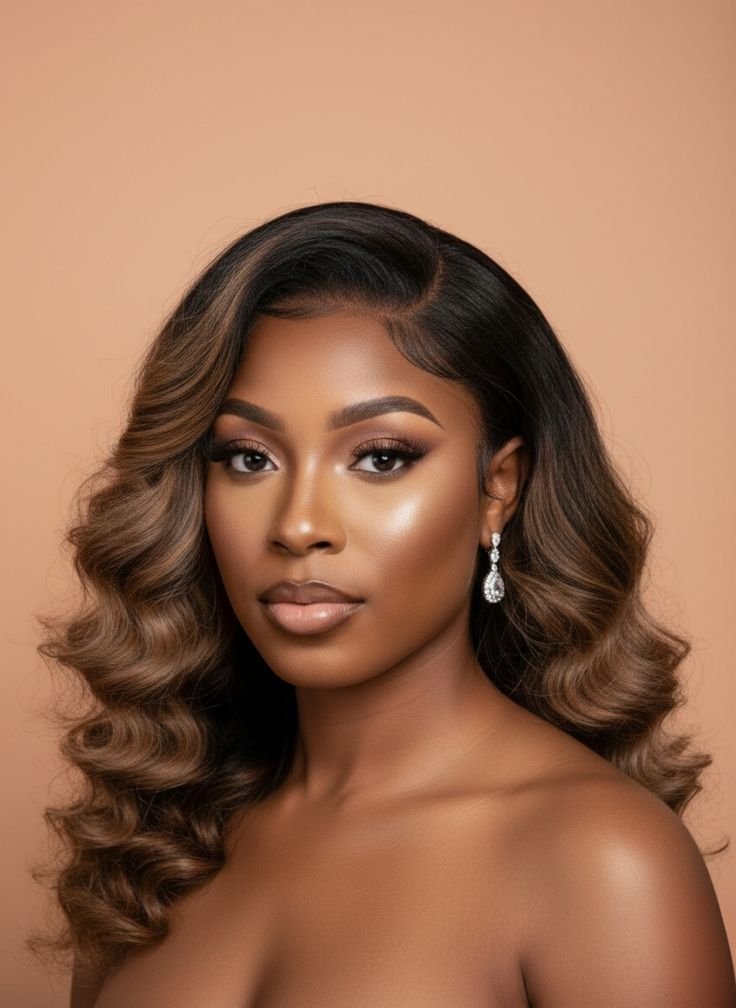
For anyone in the hair world, the “holy grail” is achieving an install that makes people wonder if the hair is actually yours. We’ve all seen it—the flawless, melted look where the...

For anyone in the hair world, the “holy grail” is achieving an install that makes people wonder if the hair is actually yours. We’ve all seen it—the flawless, melted look where the parting is crisp and the lace is invisible. But we’ve also seen the alternative: the “wiggy” look where the closure sits too high, the knots look like black dots, and the hairline is a straight, unnatural line.
Table Of Content
- 1. Choosing the Right Base: It Starts with the Lace
- HD Lace vs. Transparent Lace
- Size Matters
- 2. Pre-Installation Prep: The Secret “Skin” Steps
- Bleaching the Knots
- Plucking for Realism
- 3. The “Bald Cap” Method
- 4. Perfecting the Parting and Layout
- Creating the “Melt”
- Securing the Unit
- 5. Styling Your Human Hair Bundles with Closure
- Pros & Cons of Using a Lace Closure
- The Pros
- The Cons
- Frequently Asked Questions (FAQs)
- Conclusion: Consistency is Key
If you are looking to elevate your hair game, mastering the art of the install is essential. Whether you are working with human hair bundles with closure or a standalone unit, the goal is the same: seamless integration. In this guide, we are diving deep into the professional techniques that transform a standard lace closure into a realistic scalp masterpiece.
1. Choosing the Right Base: It Starts with the Lace
Before you even pick up a bottle of glue or a needle and thread, the quality of your closure determines 50% of your success. Not all lace is created equal.
HD Lace vs. Transparent Lace
If you want the most realistic “melt,” HD (High Definition) lace is the gold standard. It is thinner and more delicate, allowing it to disappear into almost any skin tone. Transparent lace is also a great, durable option, especially for lighter skin tones, but it may require a bit more “tinting” to look perfect on melanated skin.
Size Matters
A standard 4×4 lace closure is perfect for a classic middle or side part. However, if you want more versatility, consider a 5×5 or 6×6. The larger the surface area, the more “scalp” you have to work with, which helps in creating a more natural transition from the forehead to the crown.
2. Pre-Installation Prep: The Secret “Skin” Steps
A professional stylist never installs a closure straight out of the pack. To get that scalp-like finish, you have to perform a little “surgery” on the unit.
Bleaching the Knots
Every hair on a lace closure is hand-tied into the lace, creating tiny dark knots. If you don’t bleach these, they look like a grid on your head. By applying a professional-grade bleach mixture to the underside of the lace, you turn those dark knots into a light honey-blonde color that mimics the look of a natural hair follicle.
Plucking for Realism
Natural hairlines aren’t dense; they have a gradient. Most closures come with too much hair at the front. Use a pair of tweezers to carefully pluck the hairline and the parting space. You want to create a “transition zone” where the hair gradually becomes thicker as it moves back. Look at your own natural hairline for inspiration—it’s never a solid, straight wall of hair.
3. The “Bald Cap” Method
You cannot achieve a flat, realistic install if your natural hair is lumpy underneath. The “bald cap” method is the secret weapon of pro stylists.
- The Braid Down: Braid your natural hair into very small, flat cornrows going straight back.
- The Cap: Place a stocking cap (matching your skin tone) over your braids.
- The Seal: Use a skin-safe adhesive or holding spray along your hairline to secure the cap, then cut away the excess.
- The Tint: To get that “melted” look, you’ll want to dab a little foundation or lace tint directly onto the cap. This creates a consistent “fake scalp” base, so when your lace closure finally sits on top, the skin peeking through the parting perfectly matches your forehead. It’s the easiest way to make the lace disappear and look like it’s growing straight from your head.
4. Perfecting the Parting and Layout
When you are installing bundles with closure, placement is everything. The closure should sit slightly in front of your natural hairline—never behind it.
Creating the “Melt”
To get the lace to truly disappear, you need to “tint” it. You can use a dedicated lace tint spray or simply dab your favorite liquid foundation onto the lace using a makeup sponge. When the color of the lace perfectly matches the color of your skin, the line where the lace ends and your skin begins becomes invisible.
Securing the Unit
Whether you prefer a glueless method using elastic bands or a long-term install using lace adhesive, ensure the tension is even. If the closure is too tight, it will look unnatural and potentially damage your edges. If it’s too loose, it will lift and ruin the illusion.
5. Styling Your Human Hair Bundles with Closure
Once the unit is secured, the way you style the hair determines the final “wow” factor.
- Flatten the Top: Use a wax stick and a hot comb to flatten the area around the parting. This removes the “hump” that often makes wigs look obvious.
- Define the Part: Use a tiny bit of concealer on a flat-head brush to define the parting line. Keep it thin! A wide part looks unnatural.
- The Baby Hair Debate: Small, wispy baby hairs can help hide the edge of the lace, but don’t overdo it. A few soft swoops look much more “grown from the scalp” than heavy, gelled-down swirls.
Pros & Cons of Using a Lace Closure
Investing in bundles with closure is a popular choice for a reason, but it’s important to understand the trade-offs before you commit.
The Pros
- Protection: Your natural hair is completely tucked away, protecting it from heat damage and environmental stress.
- Consistency: You don’t have to worry about your natural hair “frizzing up” or not matching the texture of your extensions.
- Low Maintenance: Unlike frontals, which require constant re-gluing and maintenance, a closure is very “set it and forget it.”
- Natural Appearance: When done correctly with high-quality human hair bundles with closure, the look is virtually indistinguishable from a natural blowout or silk press.
The Cons
- Limited Versatility: You are generally stuck with the parting you chose (middle or side) and cannot easily pull the hair back into a high ponytail.
- Tension Risk: If the sew-in is too tight around the perimeter of the closure, it can cause thinning of the natural hair.
- Learning Curve: Getting the knots bleached and the hairline plucked correctly takes practice or a professional stylist.
Frequently Asked Questions (FAQs)
Q: How long does a closure install usually last? A: With proper care, a sew-in with a lace closure can last between 6 to 8 weeks. However, you should visit your stylist every 3 to 4 weeks to ensure the lace hasn’t shifted and that your scalp is still healthy.
Q: Can I reuse my closure for a second install? A: Absolutely! If you are using high-quality human hair bundles with closure, the hair and the lace should hold up for multiple installs. Just make sure to gently clean the adhesive or thread from the lace after each use.
Q: Why is my closure turning “orange” at the roots? A: This usually happens if the bleach was left on the knots too long or wasn’t neutralized with a purple shampoo. You can fix this by using a “root touch-up” spray or a bit of dark eyeshadow to tint the roots back to a natural color.
Q: Is a 4×4 or 5×5 better? A: If you are new to closures, a 4×4 is simple and effective. However, most people find that a 5×5 lace closure offers a more “open” look that mimics a natural forehead more accurately.

Conclusion: Consistency is Key
Making your closure look like it’s growing from your scalp isn’t a one-step process; it’s a combination of choosing the right lace, prepping the knots, and mastering the “melt.” By focusing on the details—like the bald cap method and proper tinting—you move away from the “wig” look and toward a seamless, high-end finish.
Remember, the best-looking hair is healthy hair. Whether you are rocking bundles with closure for a vacation or as your everyday look, always prioritize the health of your natural hair underneath. With the right technique, you can enjoy the versatility of extensions while maintaining a look that is flawlessly, undeniably you.


No Comment! Be the first one.